Changing Setpoint
Change the target temperature setpoint for any compartment
The unit must be powered up (START/RUN-OFF switch in the START/RUN position) and the default screen must be displayed. Press the BACK or EXIT soft key if needed to return to the default screen.
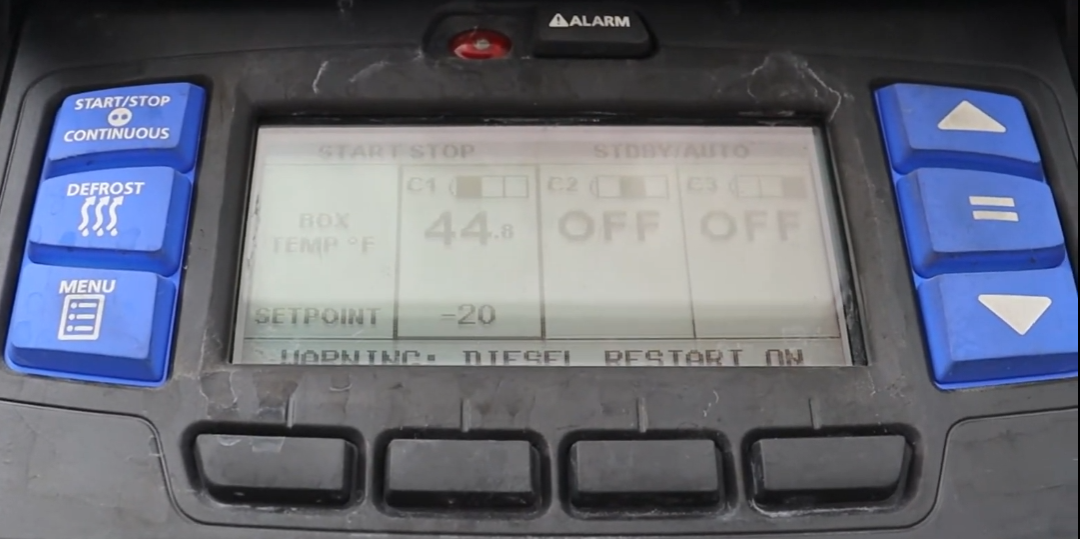
Ensure the correct compartment is highlighted on the default display screen.
Press the UP (▲) or DOWN (▼) arrow key to change the setpoint to the desired value. The setpoint changes 1 degree per press (or 0.1° if configured). Press and hold the key for faster scrolling — the longer you hold, the faster it changes.
Press the EQUALS (=) key to save the new setpoint. "SETPOINT CHANGED" will display in the MessageCenter for 10 seconds.
If you do NOT press the EQUALS (=) key, after 10 seconds of no key activity the entire display and Light Bar will flash, "SETPOINT NOT CHANGED" will appear in the MessageCenter, and the setpoint will revert to the previous value.
The default setpoint range is -22°F to +95°F (-30°C to +35°C). The APX Control System may be configured with a different minimum and/or maximum. "MAX SET POINT HAS BEEN REACHED" or "MIN SET POINT HAS BEEN REACHED" will display in the MessageCenter when a limit is reached.
The control system always retains the last entered setpoint in memory.
The setpoint cannot be changed while: • Viewing the Alarm List, Data List, or Functional Parameters • The unit is in Pretrip • The unit is in Sleep mode
If the display is flashing due to an unsaved setpoint, pressing any other key will stop the flashing and perform the requested function.